Showing posts with label Expressions Joy. Show all posts

Thursday, December 15, 2022

Joy to the World

Hello Scrapping Cottage Friends

It is Pam sharing with you today!

We are only a few days away from Christmas and I have another card for you today.  This one is a bit more country.  I used the Rustic Wreath and a great Christmas plaid for the design.


Design Steps:

1.  Use the Rustic Wreath die and cut out the following colors of card stock: dark brown, light brown, deep red, red, light red, pinkish red, yellow, dark green, green, light gray and dark gray.  After cutting the pieces assemble with a fine tip glue.  Dot the birds eye with a black gel pen
2.  Layer the pieces onto the wreath and adhere with a fine tip glue once you are satisfied with your design

3.  Use a kraft A2 card base, deep red 4 1/8 x 5 3/8, plaid DP 4 x 5 1/4, an embossed piece of kraft cut with a dove tail 4 1/2 x 2 1/2 (I layered the kraft piece with gold card stock which is not shown)

4.  Glue down the deep red to the kraft card base, next adhere the plaid and then add the gold and kraft dove tail piece all glued flat

5.  Glue down the wreath and then using the Joy Expression die cut it out of deep red.  Stamp your sentiment on kraft and layered it on deep red.  Glue the stamped sentiment down and then glue down the word Joy. To complete the card add a small raffia bow under the wreath

CottageCutz Products


We have more inspiration on our YouTube Channel check it out HERE

Thanks so much for stopping by!  And I will see you next Thursday.

Blessings and Take Care


Thursday, October 29, 2020

Snowman and Owl Pal!

 Hello Scrapping Cottage Friends,

It is Pam sharing with you on the blog today!

The design team is continuing to create cards from our 4 new releases.  The dies are from Christmas Part 1 (22 designs), Christmas Part 2 (21 designs), Christmas Part 3 (12 designs) and a Halloween release (14 designs).  All of these fabulous dies are on sale right now in the store for 25% off.  Just click here to check them out.

I am still working on my Christmas cards and today I will be sharing the Snowman and Owl Pal die.  I decided to pair it with a heart just to change things up a bit! 


Design Steps:

1.  Start out by using the Snowman and Owl Pal die and cut on green, black, brown, light brown, yellow, red, green DP, and a red and white striped DP.  I didn't do any shading this time.  I just used a fine tip glue to assemble and a fine tip black marker for the eyes
2.  Use a white A2 card base and glue down a piece of 4 x 4 red DP at the top
3.  Cut a 4 x 5 1/4 piece of white card stock and run it through a dotted embossing folder and then using the largest Stitched Heart die cut out a heart 3/4 of an inch from the top
4.  Apply dimensional tape to the back of the heart and then pop it directly over the red DP


5.  Use the Joy Expressions die and cut out 3 Joys from black card stock.  Glue the 3 together
6.  Pop the snowman to the left side of the heart and glue down the Joy to the right side as shown.  Your card is complete

CottageCutz Products


Thanks so much for stopping by today!  I hope you are getting sometime to be creative.  It is so relaxing and people love getting something handmade by you!

Blessings
Pam


Thursday, November 15, 2018

Country Candles

Good Morning Friends!

Hi it is Pam creating with you on the blog today!

I just wanted to let you know that we have some of our dies on sale for 70% off!!  Plus the new release Autumn and Halloween dies are on sale for 25% off.  Get your Christmas shopping done early!!  Today I am using the Country Candles die.  I love this die it has so many wonderful uses and details.
Design Steps:
 1.  Using the Country Candles die cut all of the pieces out of white card stock

2.  Use your favorite markers to color the pieces.  I used the copic markers above
 3.  After all of the pieces are colored assemble the lantern, candle and bundles of greenery

4.  Use and A2 white card stock base, cut a slightly smaller piece of red and then cut a piece of DP just slightly smaller then the red.  Use the Pierced Wide Rectangle Frame die the second from the largest and cut out a red frame.  Cut out a piece of white card stock to go behind the frame
 5.  On the small white piece of card stock sponge on a yellow ink to create the candle glow then position and glue the candle to the glow
 6.  Glue the lantern on top of the candle and glow
7.  Glue the red card stock to the front of the card and then add the DP to the red.  Glue down the white piece with the candle on it to the center of the card.  Place dimension tape to the back of the red frame and pop it over the candle.  Add the greenery and the Joy which I cut out of red card stock using the Joy Expressions die and your card is complete
CottageCutz Products


As always we really appreciate you stopping by today!  Don't forget the fantastic sales in your store!

Blessings
Pam

Saturday, March 17, 2018

Spring Window Scene

Hello Scrapping Cottage friends! Thanks for taking the time to stop and visit with us on this St Patrick's Day 2018. It's Mary Marsh here bringing you the Saturday edition of the Blog. Hope you all have recovered from the switch to Daylight Savings time. It usually affects me for a couple of days, but I think I am adjusted now. Love the longer daylight that's for sure.

Before I start with today's card, I wanted to let you know we have a new release of dies. It's our Rise & Shine collection and they are currently on a 25% sale. To see some card samples from the team - click here and here

Today, I am showing a card from our Spring die collection. I am using the Spring Window w/Vine  and also the Chickies w/Egg Plant dies. So let's get started with some details on how I created my card.

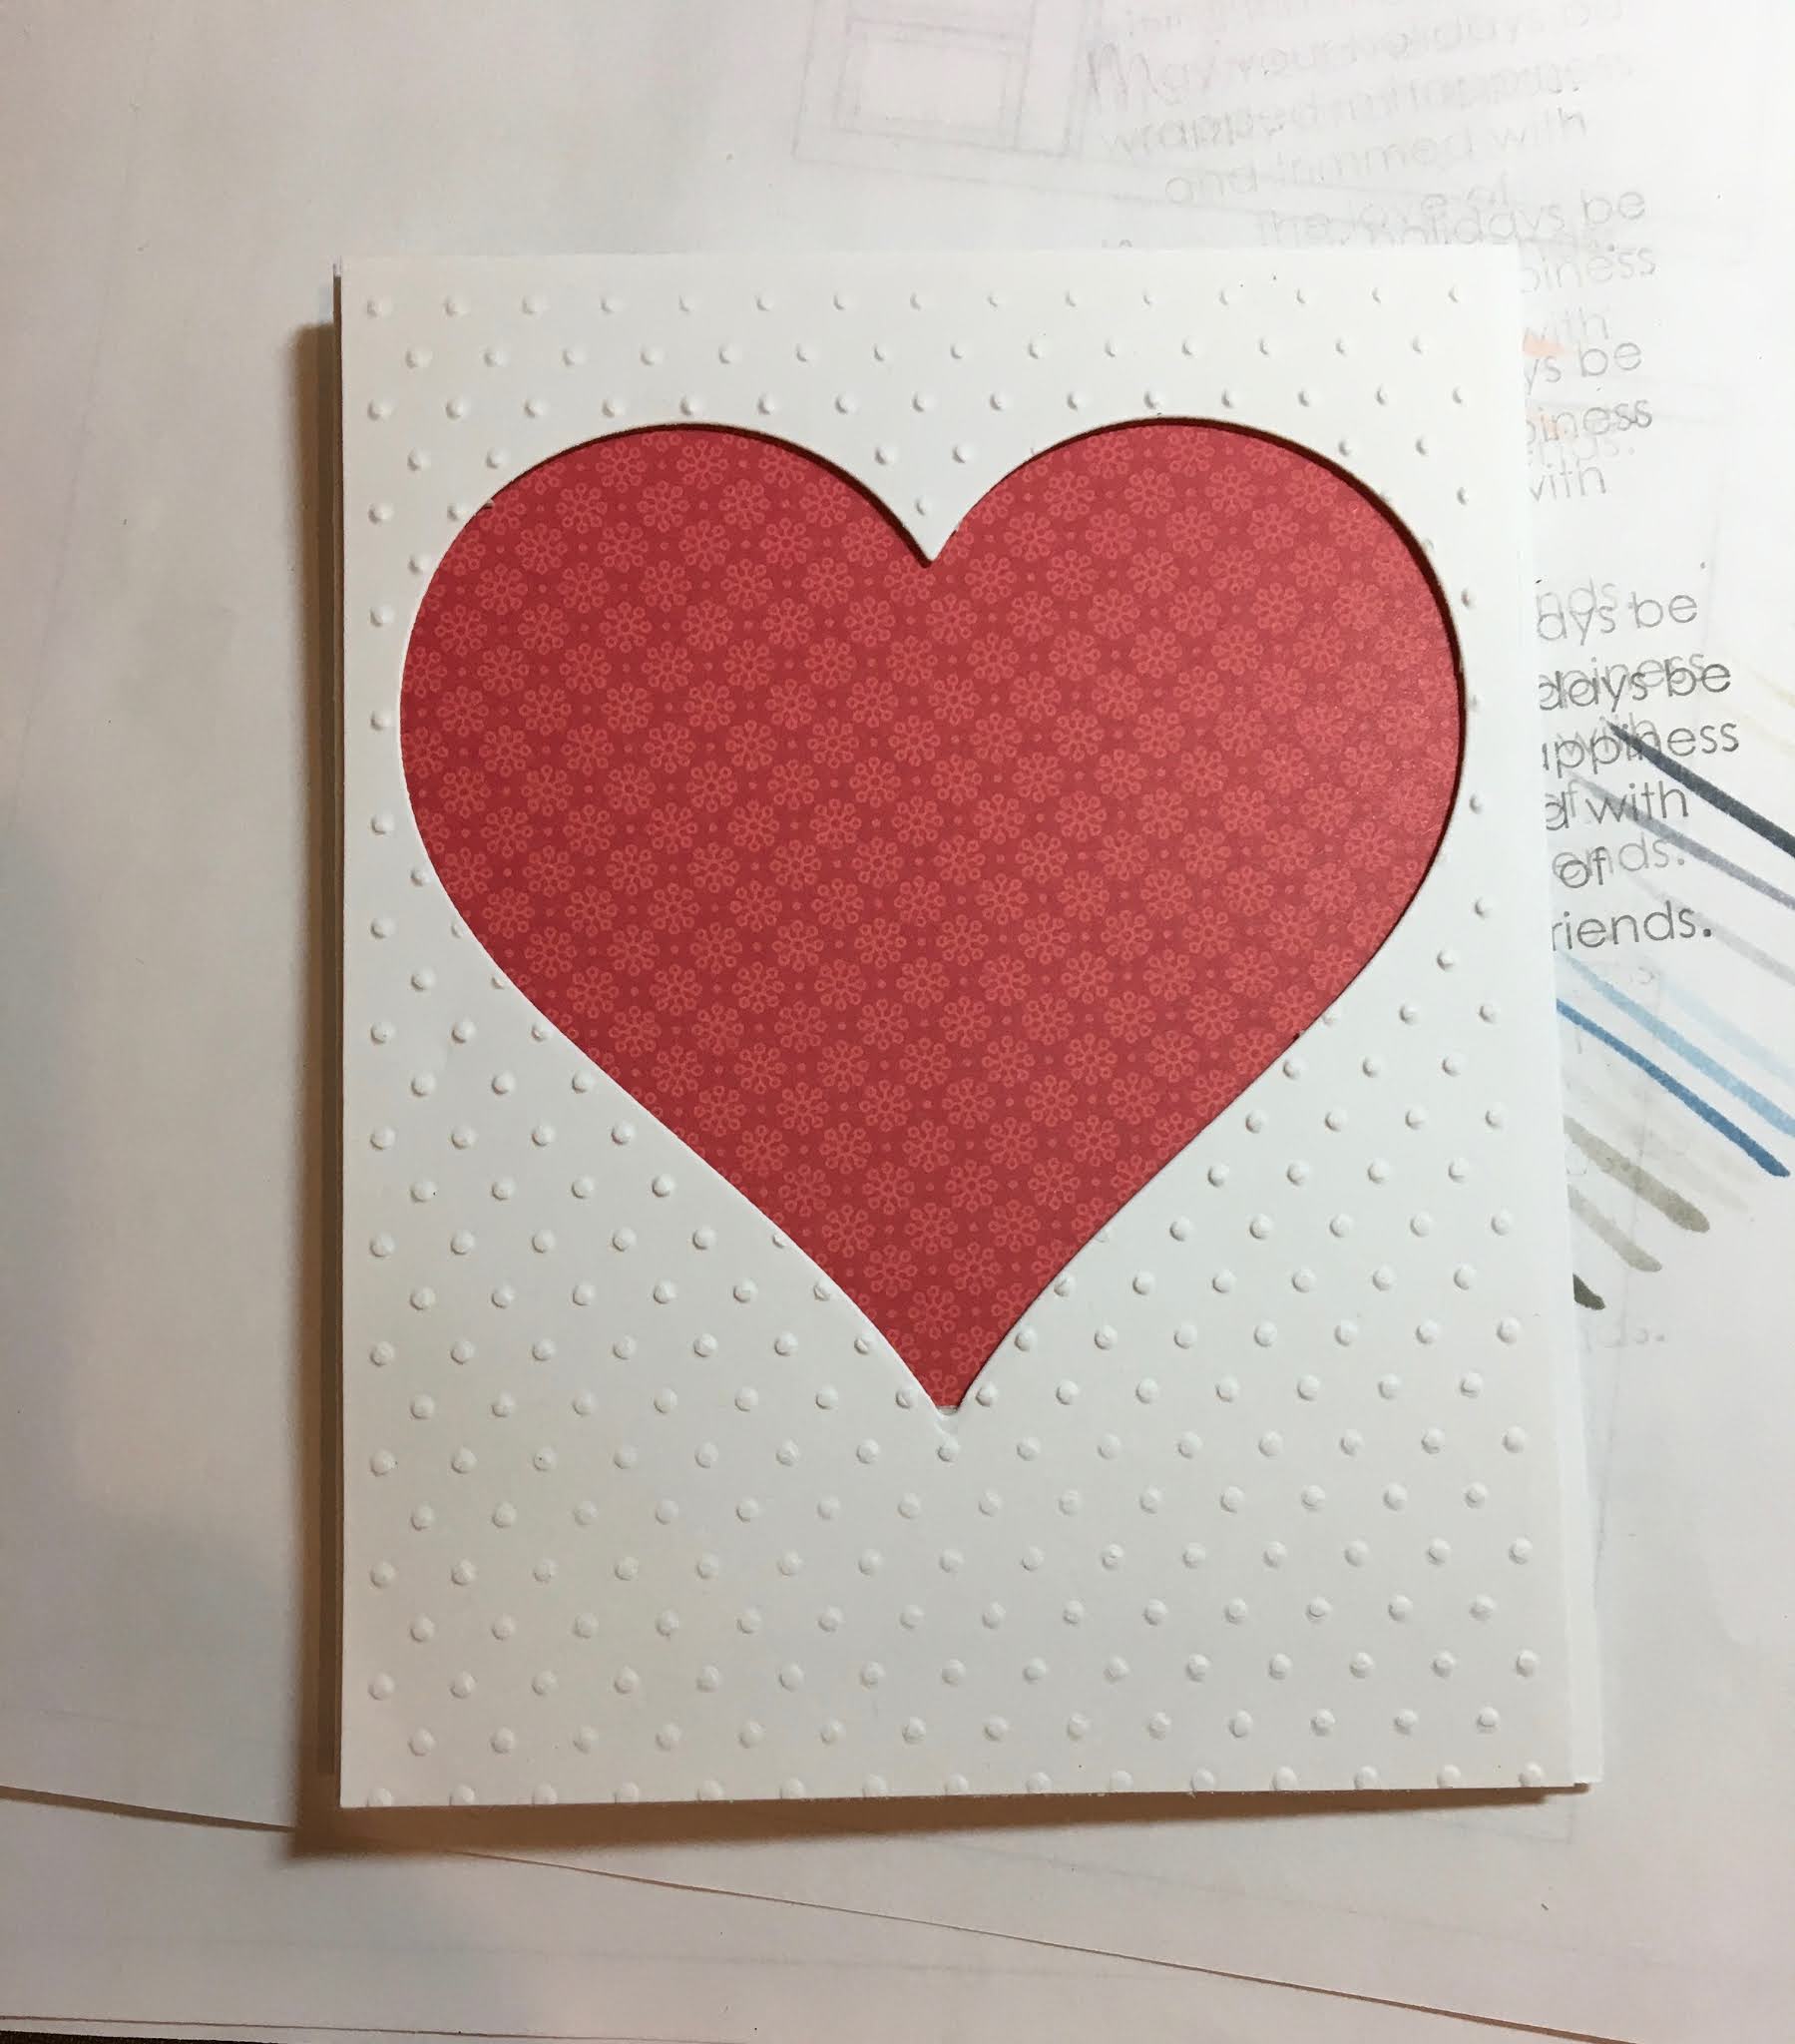
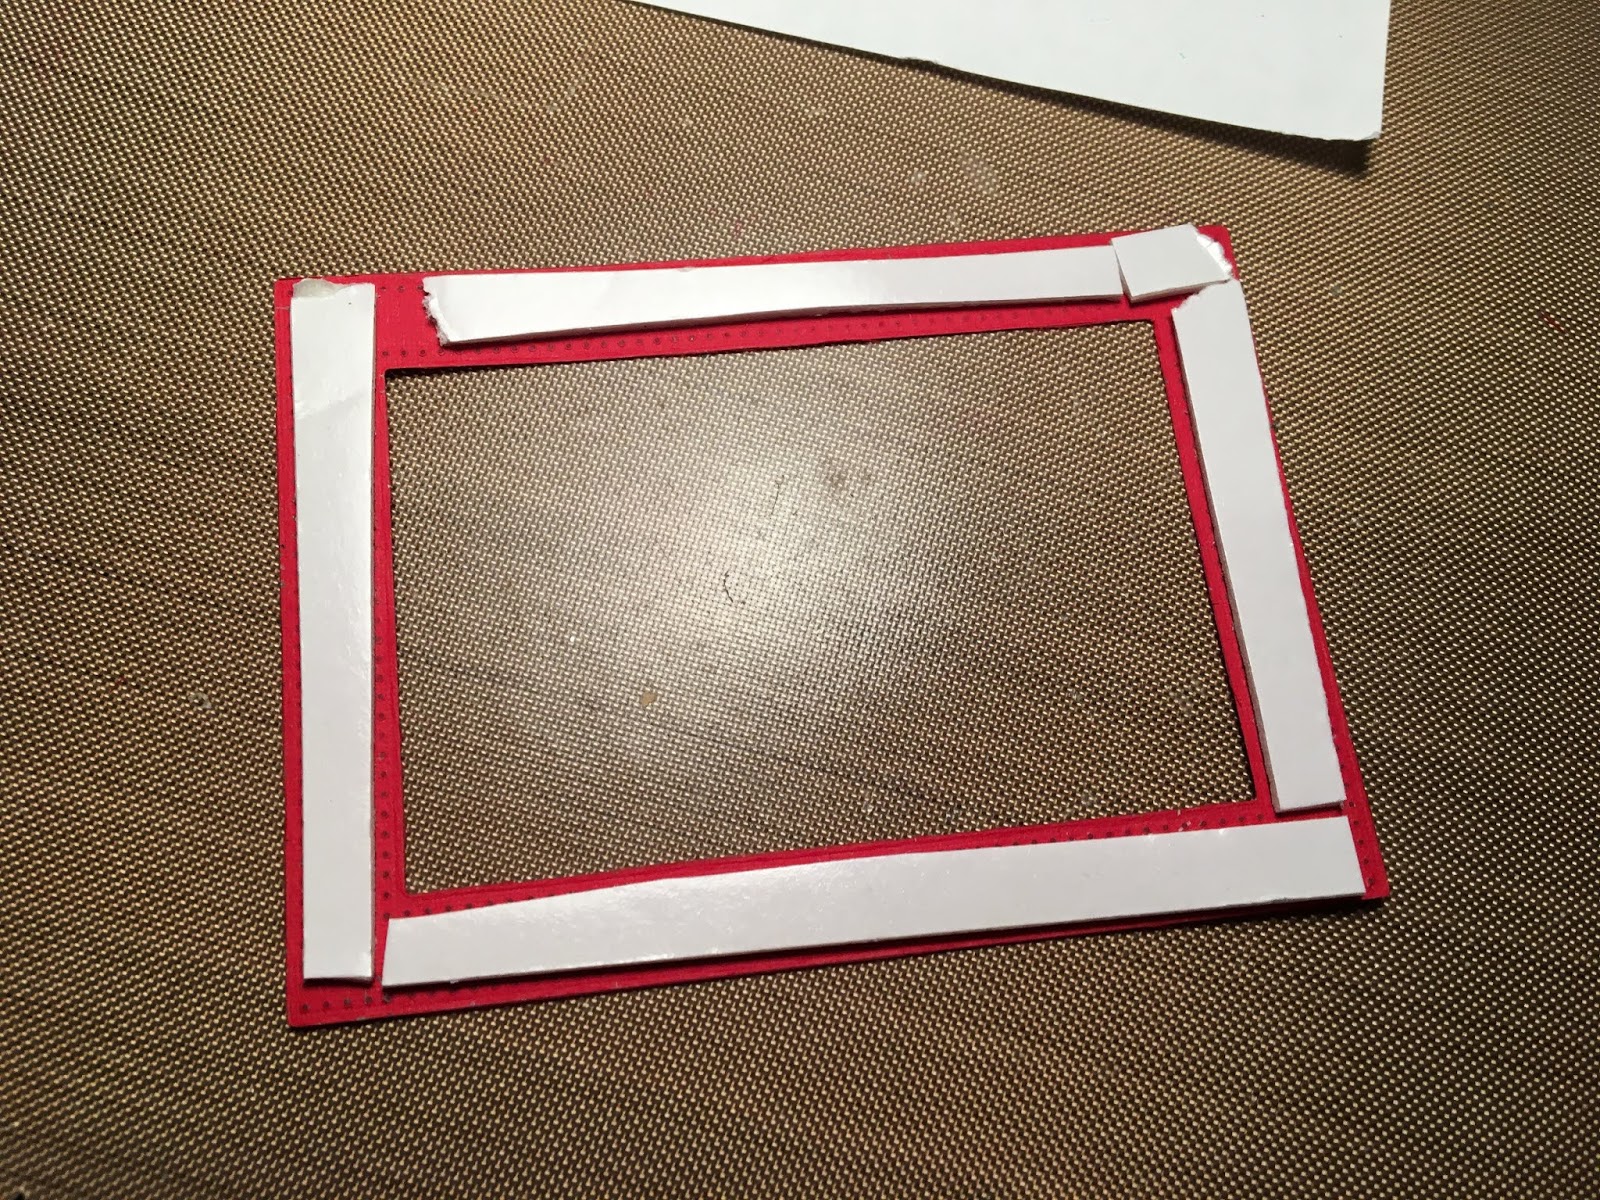
Step 1: I decided to create an outdoor scene. Started by using a brick wall stencil and white 3-D molding the wall. I stenciled on a light gray cardstock.
Carefully removed the tape and set it aside to dry. I like how some of the brick have the appearance of slight imperfections. Just like real brick. This panel is 3 7/8" x 5 1/8".
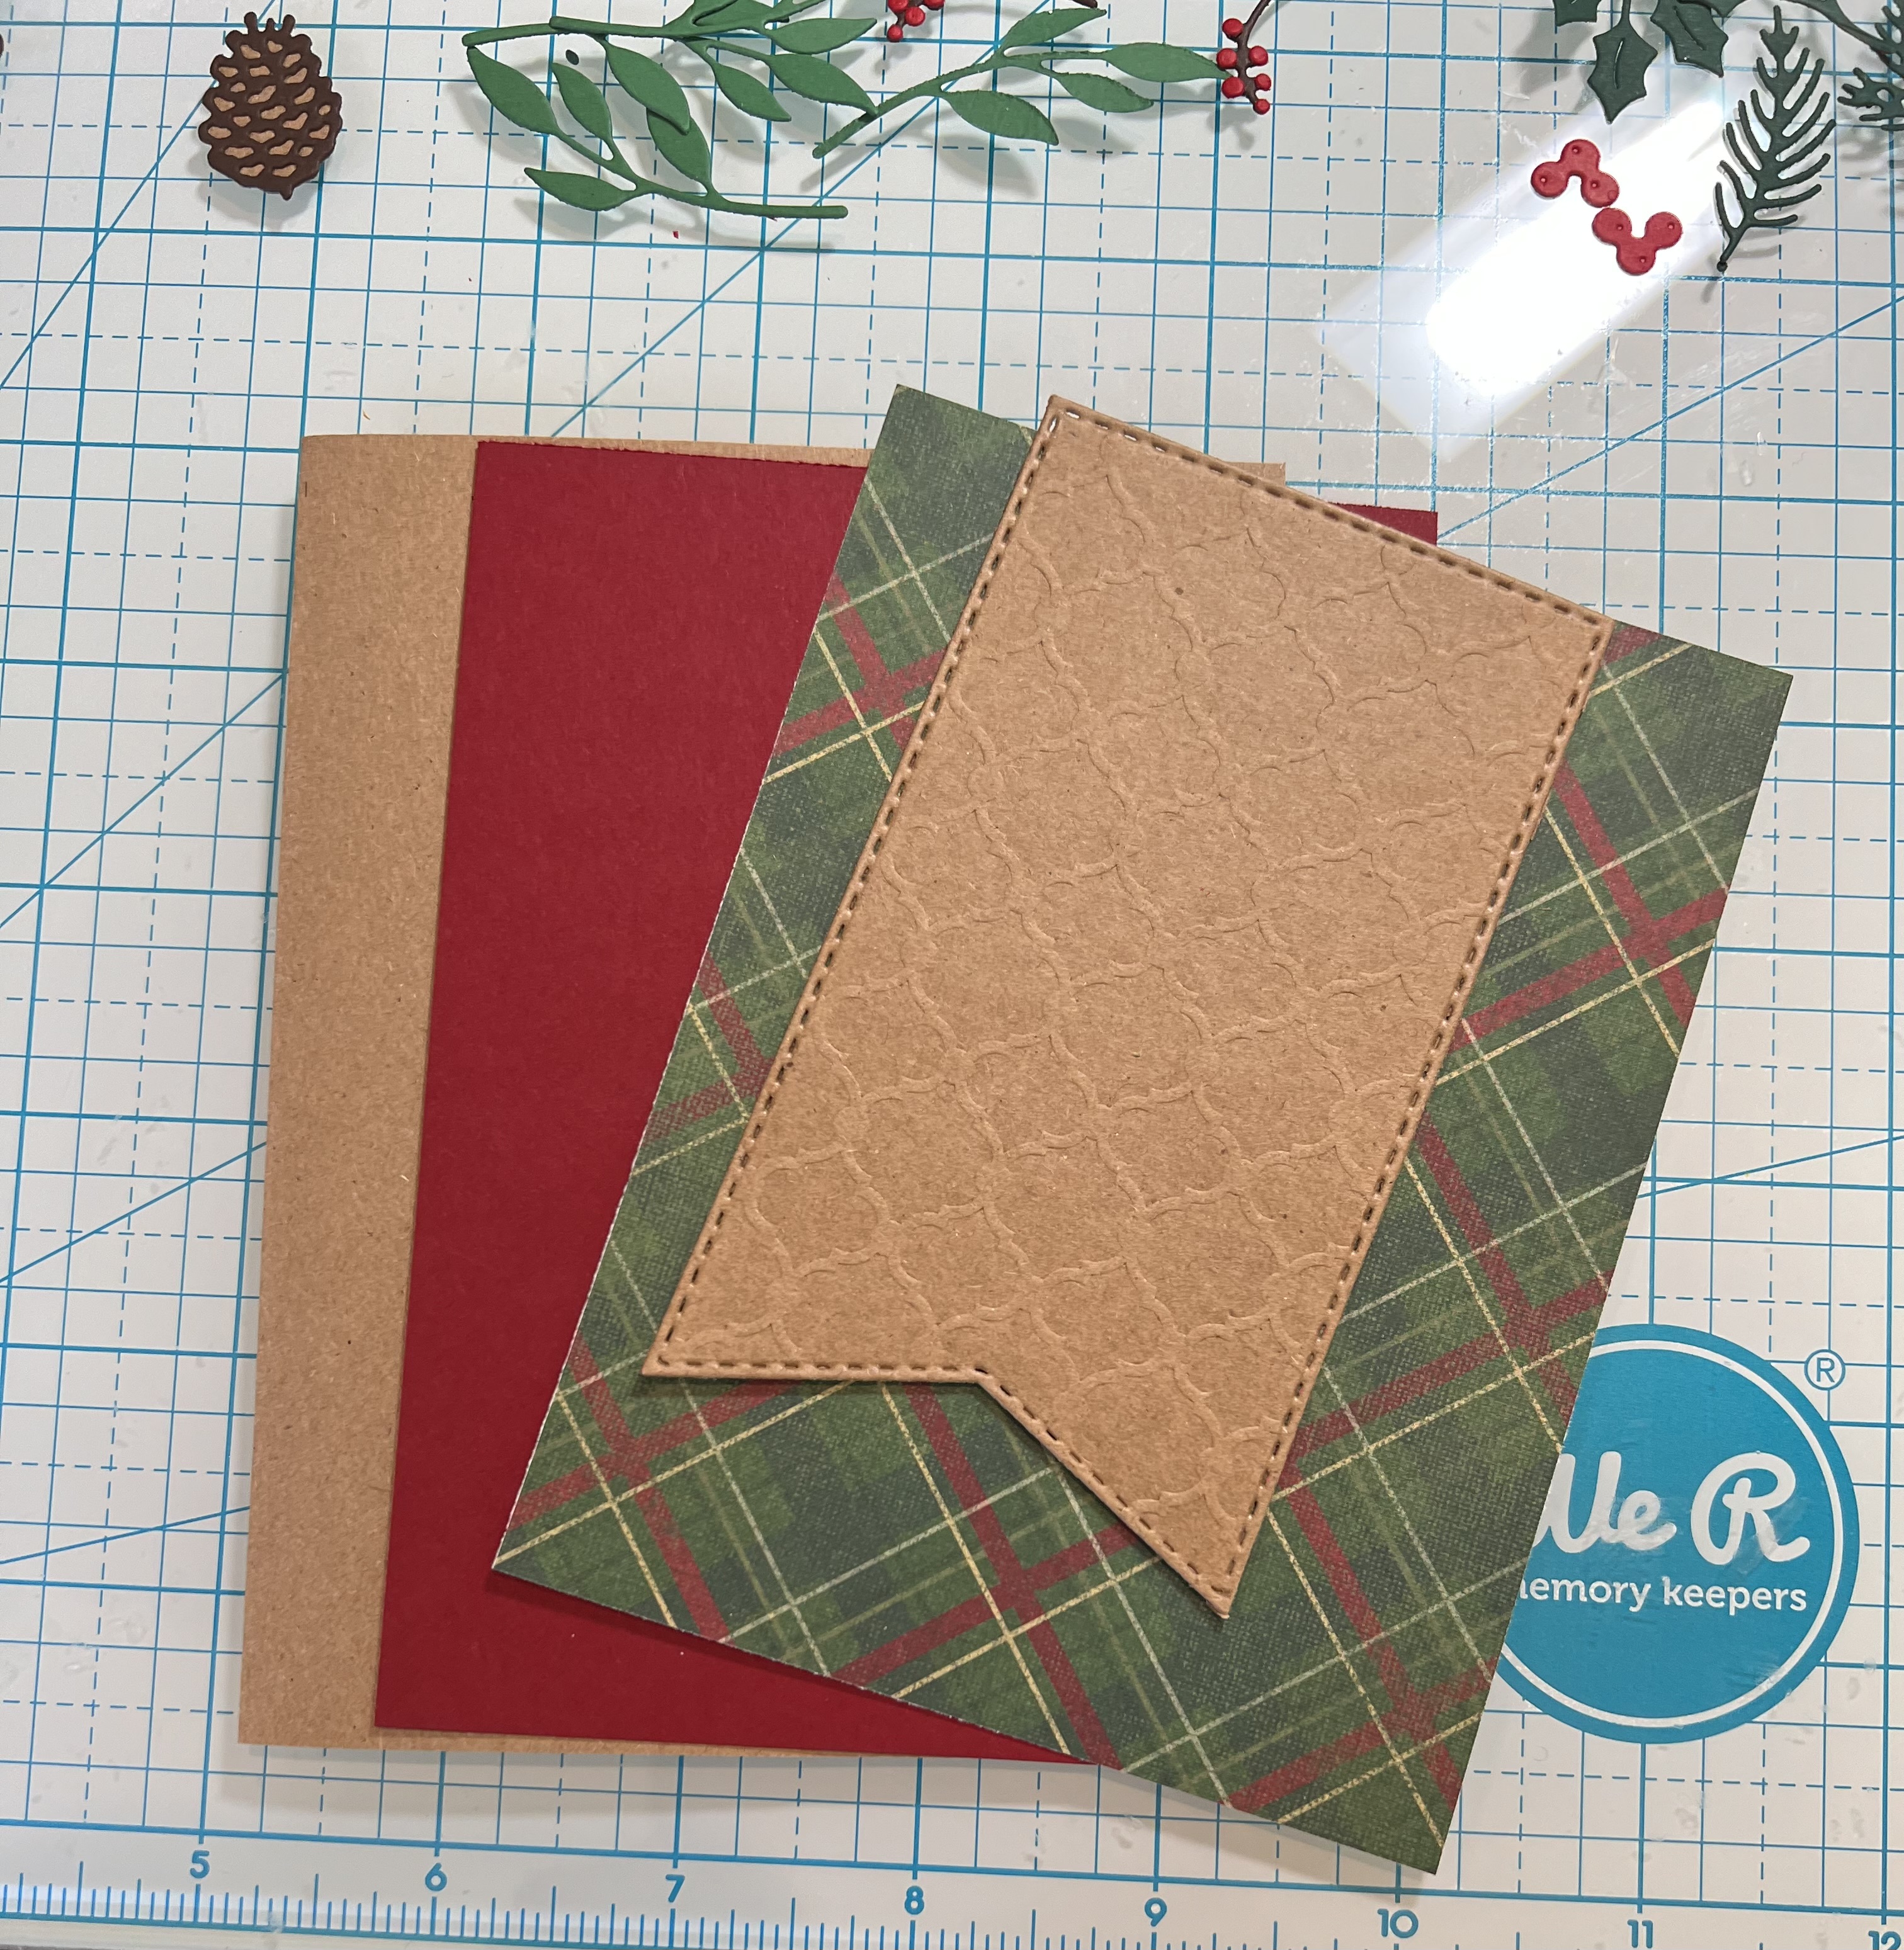
Step 2: On this step I cut my window, vine and flowers. I love the detail of the flowers in this die. Used sweet sugarplum, rich razzleberry and daffodil yellow cardstocks.
I cut my 2 chickies from daffodil yellow cardstock and sponged the edges slightly with wild honey distress ink. Just to add a little depth.
Step 3: Ready to start some card assembly. I used dimensional adhesive on the window and chicks. I like the dimension it gives to your card. Since you are looking into the window, I added some sweet sugarplum cardstock so it would look like a painted wall. The Spring grass is an older CottageCutz die.
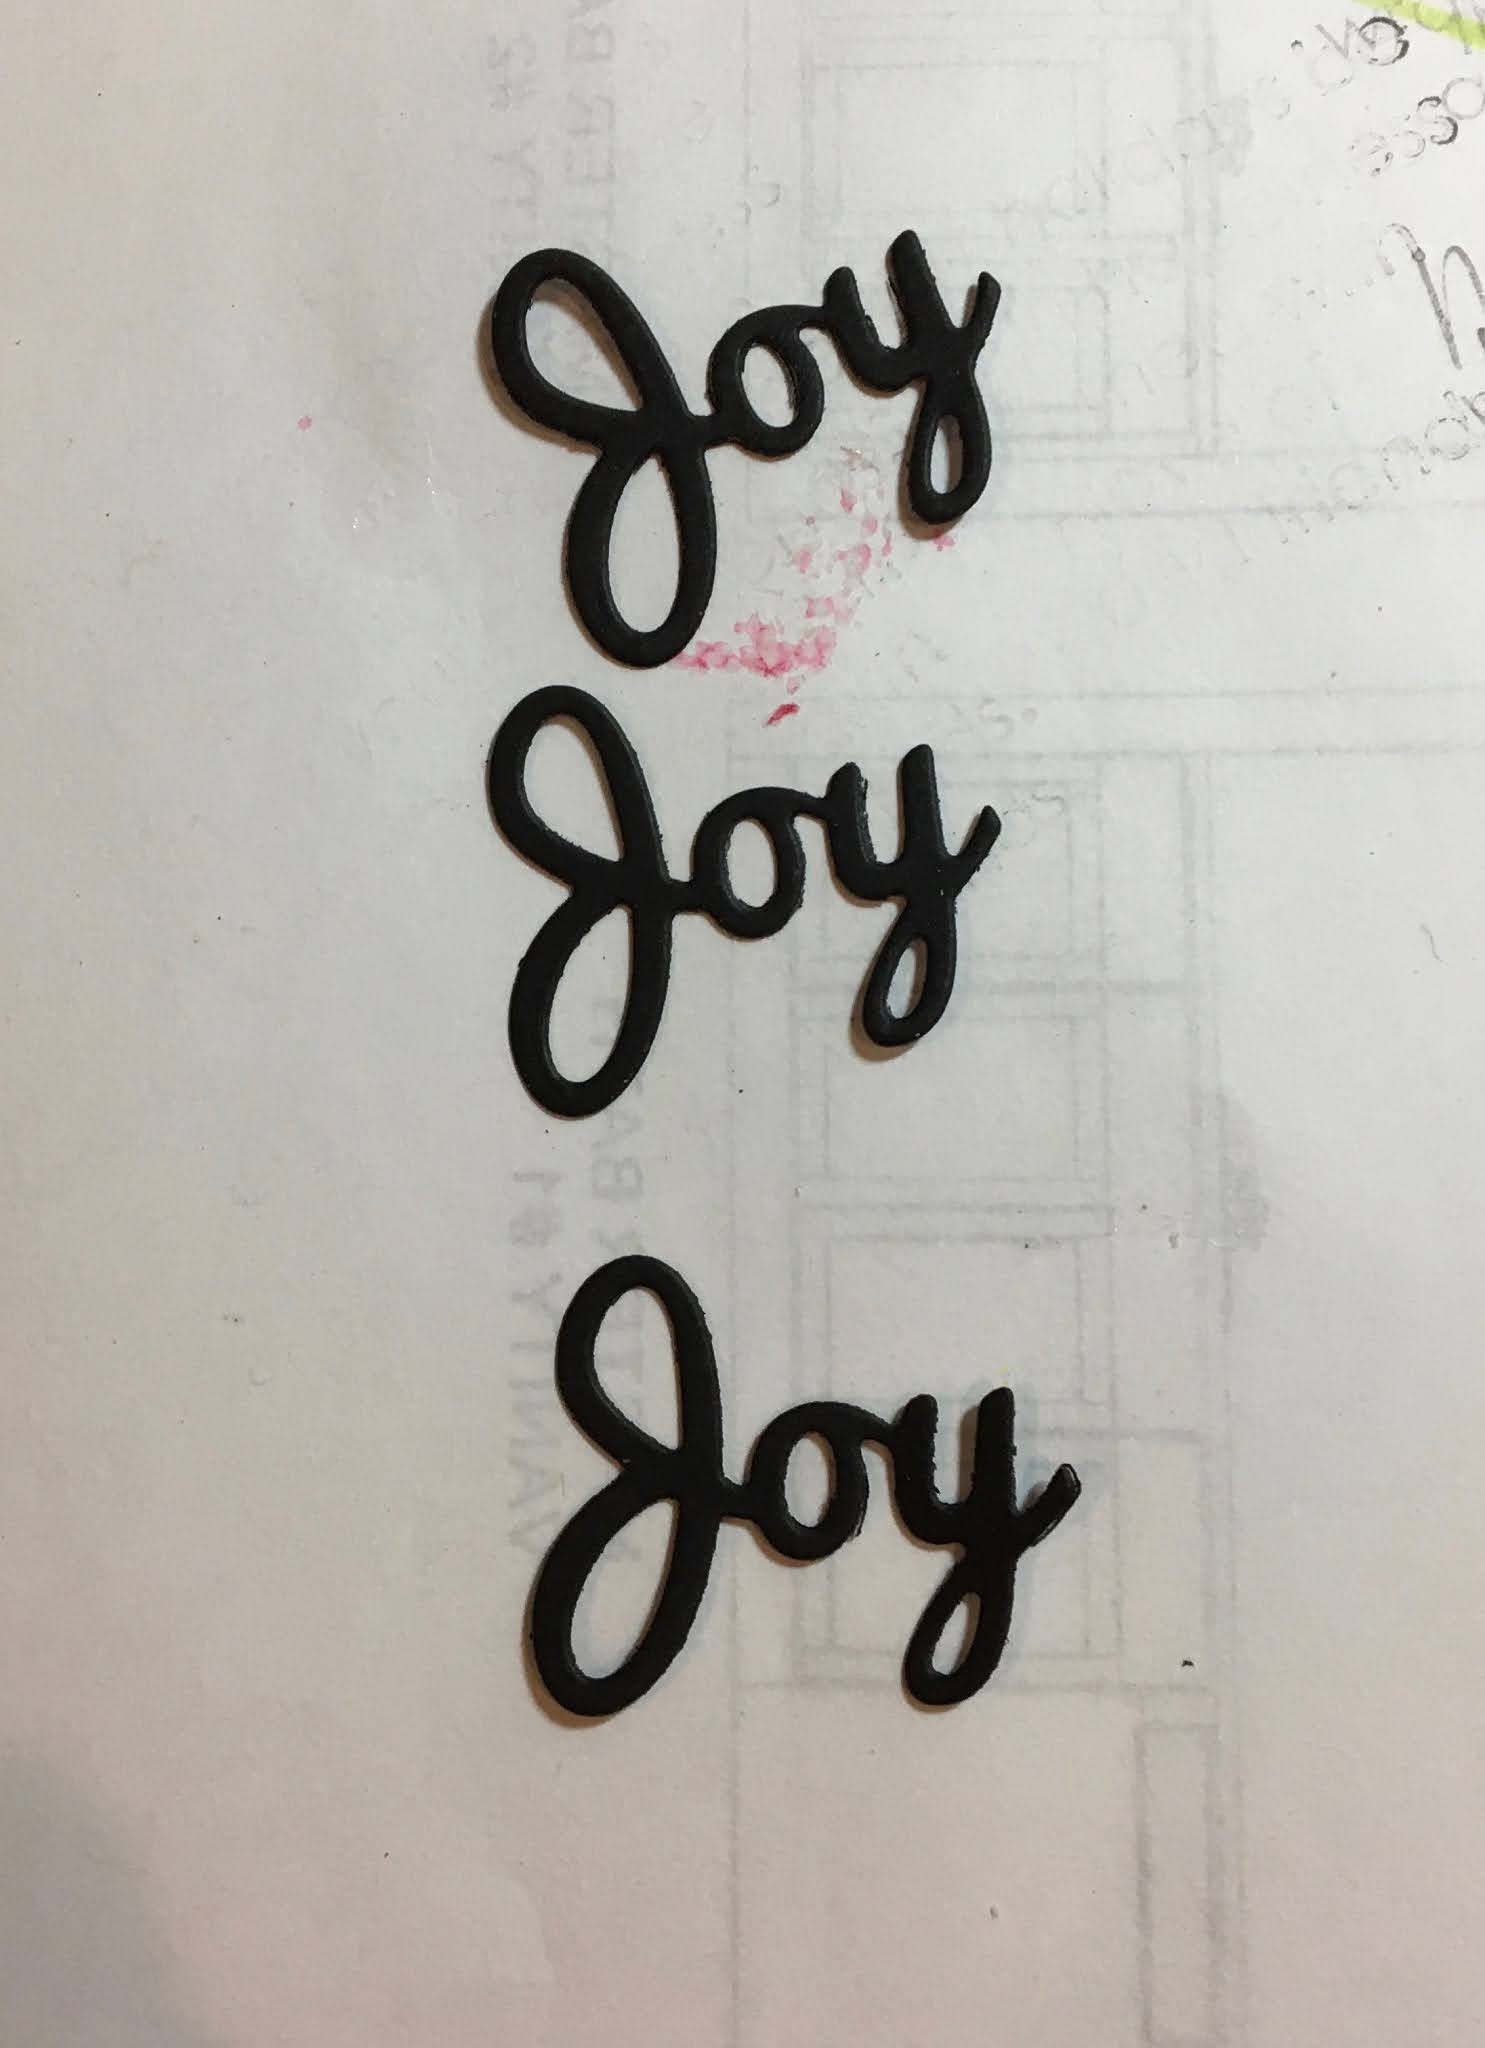
Step 4: I wanted to get a sentiment on this card and I just wasn't quite sure how to do that. Thought about stamping on the egg shell or on the grass but neither of those ideas really resonated with me. Then the lightbulb went off and I decided to add the Joy phrase to the window.
It is the perfect size. And, this die is currently 80% off. You can pick it up for just a $1.00 in the online store.
I also cut 3 butterflies in the same colors as the window flowers. They are from the Spring Meadow die.
 
Step 5:  To complete my card I used the sweet sugarplum cardstock. The card base is 4 1/4" x 5 1/2".  Well, that's it for me for this week. I hope I have given you an idea for an Easter card. You still have time to get these dies if you want to re-create this card. See you next Saturday!
 
Dies I used to create card:
http://www.scrappingcottage.com/cottagecutzspringwindowwvine.aspx
 
 
http://www.scrappingcottage.com/cottagecutzspringmeadow.aspx

http://www.scrappingcottage.com/cottagecutzchickiesweggplant.aspx
http://www.scrappingcottage.com/cottagecutzexpressionsjoy.aspx

http://www.scrappingcottage.com/search.aspx?find=spring+grass


Saturday, December 17, 2016

Merry Christmas Gift Bag

Hello Scrapping Cottage friends! Thanks for taking the time to stop and visit today. It's Mary Marsh here bringing you the Saturday edition of the Blog.

Well, it's only a week until Christmas. I finished all my cards and the last of them went in the mail today. I started wrapping gifts today and I realized I needed a couple of small bags for some little gifts. I recently purchased the Gift Bag Punch Board and decided to use it today for my gift bag project. The dies for my project are the Merry Christmas Notecard and the Elegant Angel Ornament.

Let's get started with some details on what I did to alter the bag I just made. If you don't have the Punch Board, here is a link to tutorials to make one using a scoreboard and another link to make one just by folding the cardstock.

My Bag: started with white cardstock measuring 6" x 11" and then followed the instructions on the punch board for a medium bag. The bag size ended up at 4 11/16" high and 3 1/8" wide. I also punched the holes at the top in order to run my ribbon through for bag closure.

There are a number of ways to add your ribbon. You could just punch holes on both sides and make ribbon handles. Or use cardstock and a brad and make a single handle running from side to side.

For decorating the bag I kept it simple. The Merry Christmas Notecard die is so pretty and decorative that I didn't need anything else.  Here is a close-up so you can see the detail on this die.
 

I used red cardstock for a layering panel and it measures 4 1/16" x 3". I finished off this bag with my 1/8" red striped ribbon.

My 2nd Bag: I started with white cardstock measuring 6" x 10" and then followed the instructions on the punch board for a small bag. The bag size ended up at 4 11/16" high and 2 5/8" wide. I also punched the holes at the top in order to run my ribbon through for bag closure.

For decorating this bag I used the elegant angel ornament die, merry Christmas ribbon (for the stars) and the expressions joy dies.
 
 
I used blue patterned paper for the layering panel and it measures 4" x 2 1/2". I finished off this bag with my 3/8" navy ribbon. The angel was adhered with dimensional foam tape and the joy word and stars with Ranger multi-matte medium.
 
Well, that's it for me for this week. I hope I have inspired you to look at your dies for other uses besides card making. See you next week!

 
http://www.scrappingcottage.com/search.aspx?find=merry+christmas+ribbon

http://www.scrappingcottage.com/cottagecutzelegantangelornamentelites.aspx

http://www.scrappingcottage.com/cottagecutzexpressionsjoy.aspx