Showing posts with label gift bag. Show all posts

Sunday, October 10, 2021

Christmas Farmhouse Floral Card and Mini Gift Bag Set

Hello Scrapping Cottage friends! I'm so glad you stopped by. Melinda here with another fun project! Today I am sharing a pretty card and little gift bag set. It features the fabulous Farmhouse Christmas die. It is one of the new dies in this month's new release. Now is the perfect time to pick them up! They are 30% off and they are FANTASTIC! They will help you get your Christmas projects done in style!

Here is my project. I created this pretty card and little gift bag set. It is the perfect set for a co-worker or teacher gift. It features the Christmas Farmhouse Floral die. 

The card is an A4 top folding card. The base is from black cardstock. I cut a mat from some plaid digital paper I created. I then used the largest Double-Stitched Oval die from the Nesting die set. It is part of Cottage Cutz Basics line of dies.


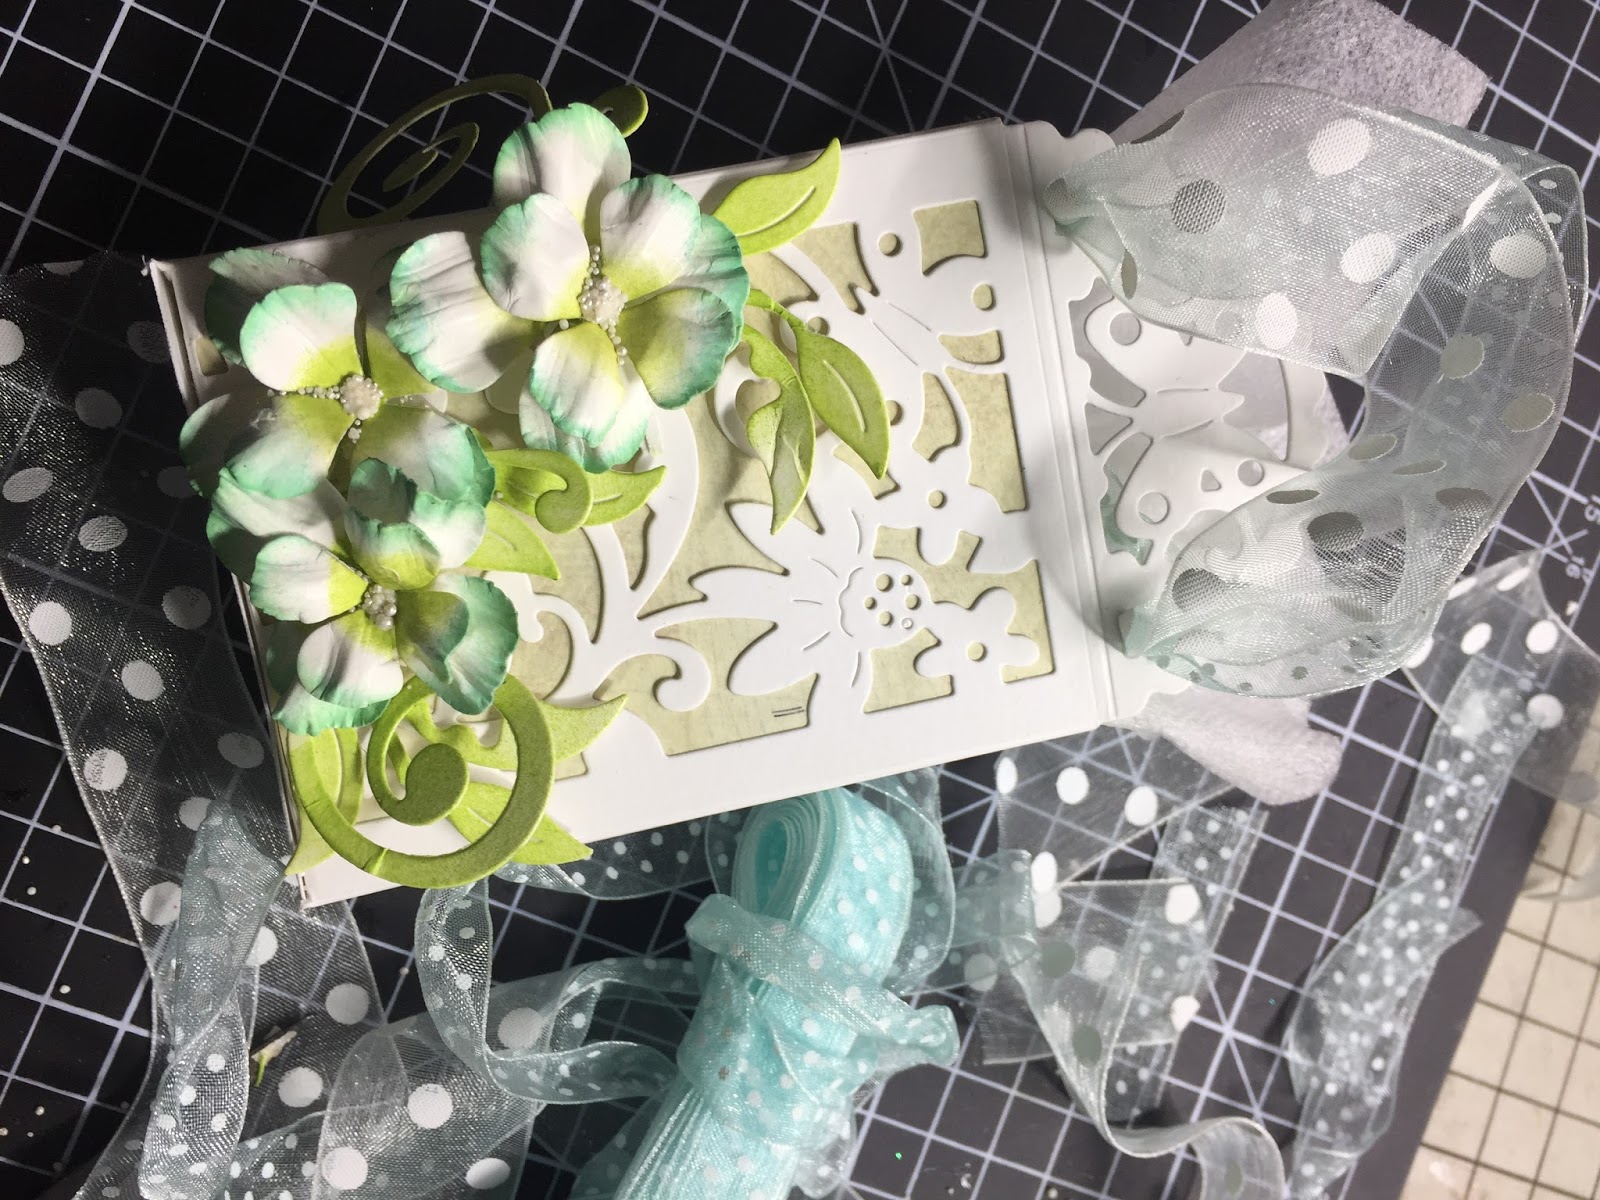
I then cut the Christmas Farmhouse Floral die from some white cardstock. I set about coloring all of the images. I picked up some markers on Amazon to give them a try. I then used some of my chalks to blend the colors.

I then used this sponge applicator to ink some dark gray ink all over. This gave the can some pretty good texture.
Here is a closer look at all the beautiful foliage and flowers you get with this one die! I layered the poinsettias and then added some touches of stickles and scattered some sequins for a little extra bells and whistles. Of course I finished off the can with a cute little organza bow.

Here's a look at just the little bag. I created the file for the little bag. I cut it out of some black cardstock. I used some more of the plaid paper I created to cut a mat for the front and back of the bag. It matches nicely with the card. I used another double stitched oval die from the set and then created a couple of mats. I layered that all underneath another of the beautiful Christmas Farmhouse Floral die set.

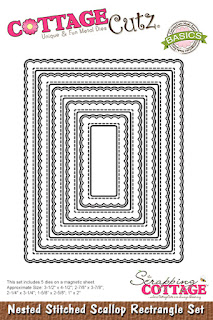
To finish off both of them, I added a sentiment to the smallest scallop stitched rectangle from that basics set. 
Here is one last look at the set. I think it turned out super cute and it was simple enough, that you can re-create it in multiples.

The Dies I used to create this banner:


Well that about covers it for today! Be sure to head over to the Cottage Cutz You Tube Channel where some of the designers will be posting videos! Make sure to come back by each day for some more great crafty inspiration from the super talented team. Until the next time, have a wonderfully crafty day!

Friday, December 09, 2016

DAINTY AND DELICATE GIFT BAG


Hello to all!!!!

Its Anita here!!!!
December means Christmas and Gifts . It is always so wonderful to create handmade gift bags and boxes to give gifts to our loved ones.

Here I have created a pretty , dainty and delicate gift bag using CottageCutz dies. It is adorned with tiny flowers and can contain candies, some jewellery or even a small perfume.

Here is my project followed by the intstructional pictures.


Cut out the die cuts from the CottageCutz Filigree Butterfly Pocket die, Leafy Swirls, and 3D flower# 5. Colour the flower and swirl die cut with Blue and green distress inks.


  Score along the lines on the pocket die.


Cut out two pattern papers from measuring 2.5 Inches by 3.5 Inches to add as inserts for both packet dies. Adhere from back.
  

Add tacky tape on the sides of one die cut.


 Secure the tabs to form a box
  

 Add a small flap at the bottom to close the base.
  
Arrange the flowers and leaves along with ribbons for handles


  The finished gift bag


 CottageCutz dies used

Leafy Swirls
3D flower # 5
Filigree Butterfly Pocket Die

Other products

Distress inks, ribbon, tacky tape, pearl prills.


I hope you liked my project. Do share your creations and happy crafting !!!

Saturday, February 25, 2012

CottageCutz Treat Bag


If you are need a cute treat bag to make, I've got one to share with you. When I saw the CottageCutz / Peachy Keen Shower Peepers die from The Scrapping Cottage, I knew what I wanted to make. I always think that shading my die cuts with distress ink adds so much more life to them - but on this little chick, I was having a hard time getting too much ink, so I added it a little different. I used my water pen, and picked up a little Scattered Straw ink for her body, and just a touch of Worn Lipstick for her cheeks. This gave me much more control, and a very light touch of ink. The face is so cute - it's a Peachy Keen stamp that comes with the set (actually you get three different faces so your little peeper can have different expressions).

If you want to make the gift bag, here's how:


The acrylic bubble that I used on the front of the bag is a Flower-Soft Display Globe, but you could also just use a flat piece of acrylic, and cut your opening to any size and shape that you would like.


Cut another strip of paper, 1" x 12" and attach to the sides for a handle. Use dimensional tape to attach your die cut.

Scrapping Cottage Dies: Shower Peepers
Patterned Papers, Buttons: American Crafts Garden Cafe
Acrylic Dome: Flower Soft Display Globe
Distress Ink: Scattered Straw, Worn Lipstick
Water Pen: Close to My Heart